Cat Ear Cleaning and Infection Prevention: The Complete Evidence-Based Guide
Proper cat ear cleaning and infection prevention isn’t about following a rigid schedule—it’s about understanding when your feline actually needs help. Unlike what many pet owners believe, most cats maintain healthy ears naturally without routine intervention. However, knowing when to inspect, how to clean safely, and how to prevent infections can make all the difference in your cat’s comfort and health.
Understanding Cat Ears: Do They Really Need Cleaning?
Here’s the straight truth: most healthy cats don’t need their ears cleaned. Your cat’s ears are remarkably self-maintaining structures designed to manage wax and debris naturally. According to VCA Animal Hospitals, the majority of cats have healthy, clean ears throughout their lives without any intervention.
However, certain cats do need assistance. If your cat is prone to wax buildup, has a history of ear infections, or develops specific ear conditions, cleaning becomes an essential part of their cat wellbeing routine.
The key principle: Inspect weekly, clean only when necessary.
Common Cat Ear Problems: What You’re Preventing
Understanding what can go wrong helps you recognize when cat ear cleaning and infection prevention becomes critical:
Ear Mites
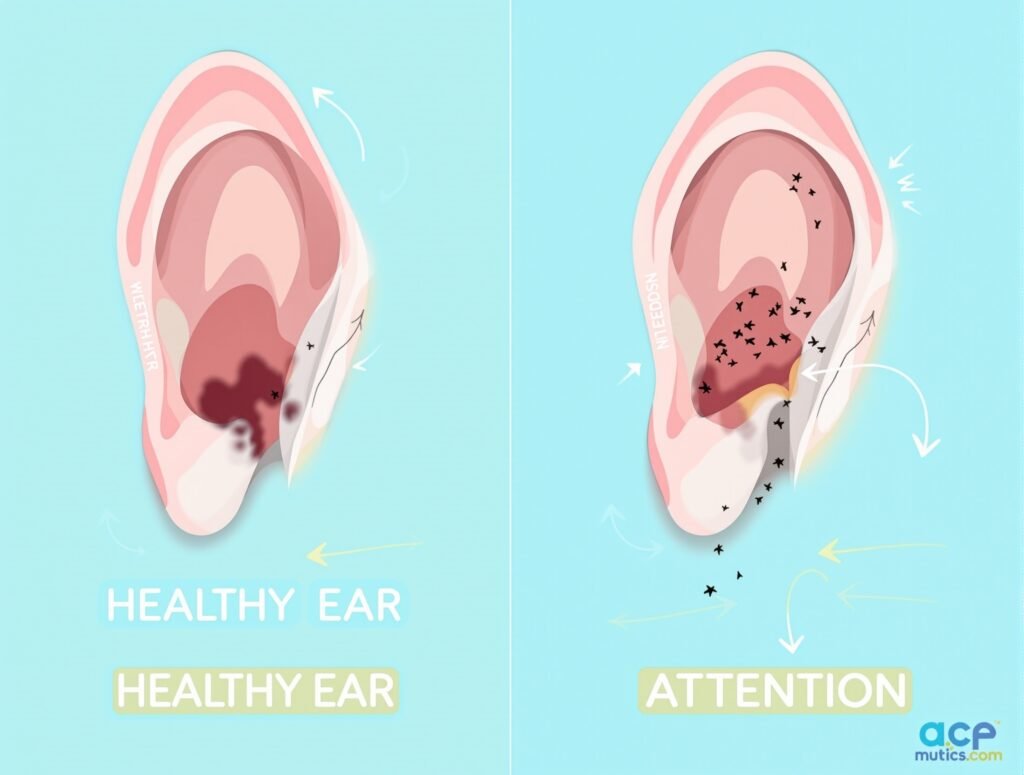
These microscopic parasites are a leading cause of ear issues in cats, particularly kittens and outdoor cats. Ear mites cause intense itching and produce dark, coffee-ground-like debris in the ear canal. Left untreated, they can lead to secondary bacterial infections.
Bacterial and Fungal Infections
Bacterial and yeast infections typically result from moisture buildup, allergies, or underlying health conditions. According to PDSA, these infections cause redness, swelling, discharge, and a characteristic foul odor.
Excessive Wax Buildup
While some wax is normal and protective, overproduction can block the ear canal and create discomfort. Certain breeds with narrow ear canals are more susceptible to this issue.
Signs Your Cat Needs Ear Cleaning or Veterinary Attention
Pay attention to these warning signs that indicate potential ear problems:
- Excessive scratching at the ears or around the head
- Head shaking or tilting to one side
- Visible discharge (black, brown, yellow, or pus-like)
- Foul odor coming from the ears
- Redness or swelling in the ear canal or flap
- Behavioral changes such as head-shyness or irritability when ears are touched
- Loss of balance or disorientation (indicating inner ear involvement)
- Visible debris or waxy buildup inside the ear
If you notice any of these symptoms, consult your veterinarian before attempting home cleaning. You may be dealing with an infection, ruptured eardrum, or other condition requiring professional treatment.
How to Inspect Your Cat’s Ears Properly
Weekly ear inspections are your first line of defense in cat ear cleaning and infection prevention:
- Choose a calm moment when your cat is relaxed
- Gently hold the ear flap and fold it back slightly
- Look for: Clean, pale pink inner ear skin with minimal wax
- Watch for: Discharge, excessive wax, redness, swelling, or odor
- Check both ears for comparison
Healthy cat ears should be:
- Pale pink (not red or inflamed)
- Free from strong odors
- Clean with only minimal light-colored wax
- Non-tender to gentle touch
Step-by-Step Cat Ear Cleaning Guide

When cleaning is needed, follow this veterinary-approved method from VCA Animal Hospitals:
What You’ll Need
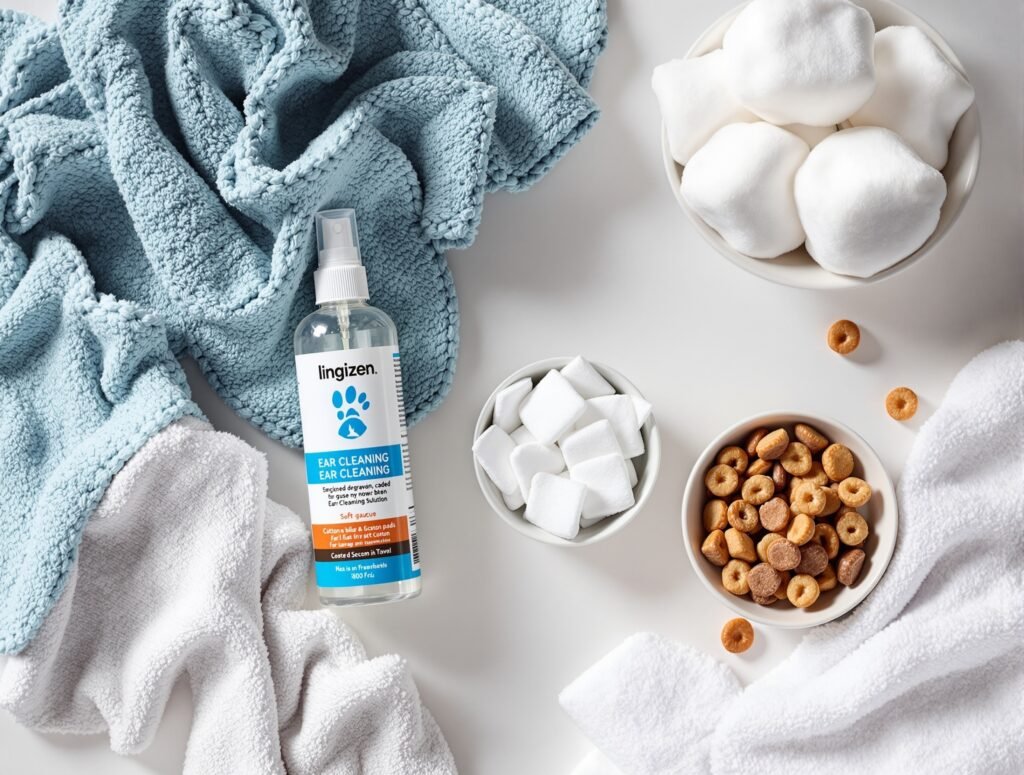
- Cat-specific ear cleaning solution (never use hydrogen peroxide, alcohol, or vinegar)
- Cotton balls or gauze pads (not cotton swabs/Q-tips)
- Treats for positive reinforcement
- A helper (optional but recommended for first-time cleaning)
The Cleaning Process
Step 1: Position Your Cat Sit in a comfortable position with your cat in your lap, facing away from you. If your cat is squirmy, consider wrapping them gently in a towel, leaving only the head exposed.
Step 2: Prepare the Ear Gently grasp the tip of the ear flap and pull back slightly to expose the ear canal and straighten the L-shaped canal structure.
Step 3: Apply Cleaning Solution Squeeze enough ear cleaning solution into the ear canal to completely fill it. Some spillage is normal—don’t worry about it. Never insert the bottle tip into the ear canal to avoid injury and contamination.
Step 4: Massage the Base While holding the ear flap, gently massage the base of the ear below the opening for about 30 seconds. You should hear a satisfying squishing sound as the solution breaks up debris in the horizontal canal.
Step 5: Let Your Cat Shake Release your cat’s ear and allow them to shake their head. This natural response helps move debris and solution from deep within the canal to the outer opening.
Step 6: Wipe Away Debris Using a cotton ball or gauze, gently wipe away loosened debris and solution from the outer ear canal and inner ear flap. Only clean as far as your finger can reach—never probe deeper.
Step 7: Reward Your Cat Immediately offer treats and praise to create positive associations with ear cleaning. This makes future sessions much easier.
Step 8: Repeat on the Other Ear Follow the same process for the second ear.
Critical Safety Rules for Cat Ear Cleaning and Infection Prevention
⚠️ Never use cotton swabs (Q-tips) inside the ear canal. According to PetMD, these can push debris deeper, damage the delicate ear canal, or even rupture the eardrum.
⚠️ Stop immediately if your cat shows pain. This could indicate an infection or injury requiring veterinary care.
⚠️ Don’t over-clean. Excessive cleaning irritates the ear canal and can actually increase infection risk. Clean only when you see visible debris or discharge, or as directed by your veterinarian.
Cat Ear Cleaning and Infection Prevention: Best Practices
How Often Should You Clean Cat Ears?
Unlike the outdated advice suggesting routine cleaning every 2-4 weeks, modern veterinary consensus is clear:
- Healthy cats: No routine cleaning needed
- Inspection frequency: Weekly visual checks
- Cleaning frequency: Only when debris or discharge is visible, or as your vet recommends
- Cats prone to problems: Follow your veterinarian’s specific schedule (may range from weekly to monthly)
Breeds at Higher Risk
Certain cat breeds require more vigilant monitoring:
- Scottish Folds: Folded ear structure limits airflow and increases infection risk
- Persians and Himalayans: Narrow ear canals promote moisture retention
- Siamese and Oriental breeds: Large, open ears more exposed to debris
If you have one of these breeds, work with your veterinarian to establish an appropriate monitoring routine. Learn more about cat grooming needs for specific breeds.
Keep Ears Dry After Water Exposure
Moisture creates an ideal environment for bacterial and yeast overgrowth. After bathing your cat:
- Gently dry the outer ear with a soft towel
- Allow natural air-drying (never use cotton swabs inside the canal)
- Watch for signs of moisture-related problems in the following days
Most cats avoid water instinctively, but if yours enjoys occasional water play or requires frequent baths, paying attention to ear drying becomes even more important.
Preventing Ear Infections in Cats
Effective cat ear cleaning and infection prevention extends beyond the cleaning process itself:
Regular Veterinary Check-Ups
Schedule annual wellness exams where your veterinarian examines your cat’s ears thoroughly. Cats with chronic ear issues may need more frequent visits. Discover why regular vet visits are essential for your cat’s health.
Address Underlying Conditions
Many ear problems stem from other health issues:
- Allergies: Food or environmental allergies commonly cause ear inflammation. Learn about cat skin allergies and their management.
- Immune disorders: Compromised immunity increases infection susceptibility
- Hormonal imbalances: Thyroid issues can affect ear health
- Parasites: Ensure your cat receives regular flea and tick prevention
Maintain Optimal Nutrition
A healthy diet supports immune function and skin health, which directly impacts ear health. Proper cat nutrition creates a strong foundation for preventing infections.
Control Environmental Factors
- Keep living spaces clean and dust-free
- Use unscented, hypoallergenic cleaning products
- Avoid exposing cats to cigarette smoke
- Maintain moderate humidity levels in your home
When to See a Veterinarian
Cat ear cleaning and infection prevention has its limits. Seek professional help when you notice:
- Persistent scratching despite home cleaning
- Any discharge (especially yellow, green, or bloody)
- Strong odor that doesn’t resolve after cleaning
- Visible swelling or extreme redness
- Head tilt or balance problems
- Behavioral changes like lethargy or loss of appetite
- Bleeding from the ear
- Your cat won’t let you touch their ears due to pain
The Consequences of Untreated Ear Infections
Understanding what’s at stake emphasizes why cat ear cleaning and infection prevention matters:
According to research from Cornell University College of Veterinary Medicine, untreated ear infections can lead to:
- Chronic ear disease requiring lifelong management
- Permanent hearing loss as infection damages delicate ear structures
- Facial nerve paralysis if infection spreads to surrounding tissues
- Vestibular dysfunction causing permanent balance issues
- Systemic infection in severe cases where bacteria enter the bloodstream
Early intervention prevents these serious complications and keeps your cat comfortable.
FAQ: Cat Ear Cleaning and Infection Prevention
Q: How often should I clean my cat’s ears? Clean only when you see visible debris or discharge during your weekly inspections, or follow your veterinarian’s recommendations for your individual cat. Most healthy cats need little to no routine cleaning.
Q: Can I use hydrogen peroxide or alcohol to clean cat ears? No. These substances are too harsh and can cause irritation, pain, and tissue damage. Always use a veterinary-approved, cat-specific ear cleaning solution.
Q: My cat hates ear cleaning. What can I do? Start slowly with just handling and inspecting ears, offering treats immediately afterward. Gradually introduce the cleaning solution over multiple sessions. If your cat remains highly resistant, ask your veterinarian about alternative approaches or professional cleaning.
Q: What does normal cat ear wax look like? Normal ear wax is light brown to tan, has a minimal odor, and appears in small amounts. Dark brown or black debris resembling coffee grounds suggests ear mites. Yellow or greenish discharge indicates bacterial infection.
Q: Are ear infections contagious between cats? Ear mites are highly contagious between cats. Bacterial and yeast infections are typically not contagious, as they usually result from individual factors like allergies or moisture buildup.
Q: Can allergies cause ear problems in cats? Absolutely. Food and environmental allergies are common underlying causes of recurring ear infections in cats. Managing the allergy often resolves the ear issues. Read about cat allergy causes and management.
Q: Should I clean my indoor cat’s ears? Indoor status doesn’t determine cleaning needs—individual ear health does. Even indoor cats can develop ear problems requiring attention, though they’re generally at lower risk for ear mites.
Q: What’s the difference between ear mites and ear infections? Ear mites are parasites causing dark, dry debris resembling coffee grounds. Bacterial or yeast infections produce moist discharge (often yellow, brown, or pus-like) and typically have a stronger odor. Both require veterinary diagnosis for appropriate treatment.
Conclusion: A Balanced Approach to Cat Ear Cleaning and Infection Prevention
The most important takeaway about cat ear cleaning and infection prevention is this: less is often more. Most cats maintain healthy ears naturally, but your role as a vigilant pet owner is invaluable.
Inspect your cat’s ears weekly, clean only when necessary using proper technique and appropriate products, and seek veterinary care promptly when problems arise. This balanced approach prevents unnecessary irritation from over-cleaning while catching issues early when they’re most treatable.
By understanding your cat’s individual needs and following evidence-based practices, you’ll help ensure those adorable ears stay healthy, comfortable, and infection-free for years to come.
For more comprehensive guidance on maintaining your cat’s overall health, explore our articles on cat wellness and general cat healthcare.
Further Reading:


